
SFTP vs. FTPS Protocol Comparison
But, what exactly are the differences, and why should you choose one protocol over the other? Read More
Published on 14 Mar 2019
Have you ever wondered what goes on inside a hard drive? There’s a lot of powerful technology inside a tiny 3.5-inch box: drive platters spinning at 10,000 rpm, drive heads plated in gold, and rare earth magnets keeping the heads aligned.
We’re proud to have partnered with Make:SF as we taught the first of what we hope will be a series of classes on data storage technology: Hard Drive Dissection with David Ordal.
Make:SF is a San Francisco Bay Area group where you can meet local makers, learn new skills and insights, and expand your hardware and making knowledge. We know not everyone is local to the Bay Area, so we took notes and captured some awesome video of this class. Watch our CEO David in action as he takes apart an enterprise hard drive. And learn a bit about the pieces inside the dive.
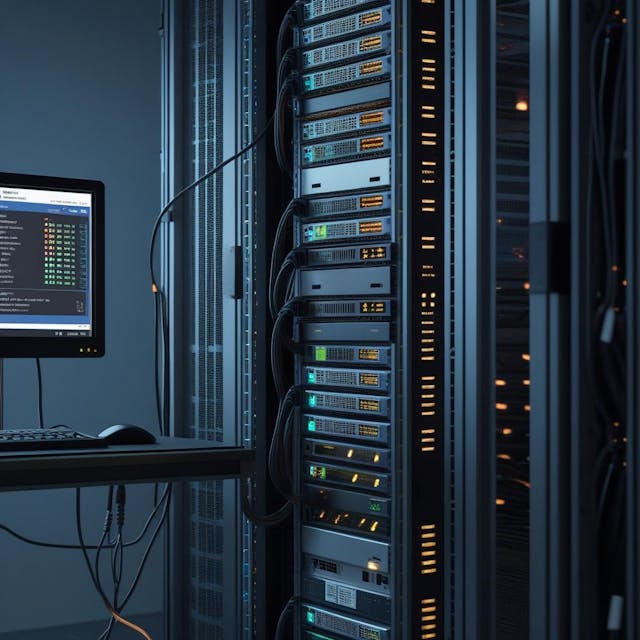
Hard drives have been around forever — the first widely available drives were released in the early 1980s. Today, ‘spinning platter’ hard drives are still the name of the game when it comes to cost per gigabyte in data storage. At ExaVault, we use 8TB, 10TB and 12TB drives from manufacturers like Toshiba, Hitachi, Western Digital, and Seagate. Each drive is mounted in a large scale RAID6 storage array, which are then merged together to form the underlying storage fabric that powers our service.
For our class, we took apart older hard drives from some of our decommissioned storage arrays. Our class drives ranged from 160GB to 500GB — smaller than what we’re installing today, but with the same basic internal components. (No drives contained customer data; as part of our storage decommissioning process all drives are erased with a Department of Defense DoD 5220.22-M – 3 pass erase.)
Our first victim for hard drive dissection is an enterprise model hard drive from Samsung. You can look at the circuit board on the bottom which is where the hard drive plugs in via the SATA ports.
The first step is to take off the top plate. The top plate covers the internal components of the hard drive. Once all the screws are removed (including the super secret screw under the label), pop it open. And there is the hard drive.
Next, we looked at some of those components…
Platters? Yes, the large shiny disk you see under the top plate is called a platter. A platter is where the data is actually stored. They have quite a lovely mirror polish — that’s because they have to be extremely flat. The drive head ‘flies’ just a few micrometers above the platter, so any imperfection on the platter means a head crash and failure of the drive!
Then there’s the rotor, which spins the drive. And the drive armature. Then the tiny thing you’ll see at the end of the armature is the drive head, which is what actually reads data off the drive. Different drives have different numbers of platters. Most of the hard drives used in this class had between one and four platters. Having more platters is one way a hard drive can store more data. In this case, our Samsung hard drive has three platters and six heads.
The next piece we come across is neodymium magnets that provide a magnetic field for the armature electromagnet. In the video, you’ll see us pull apart the neodymium magnets, and you can also see the electromagnet that is sandwiched between the neodymium magnets and attached to the armature.
The drive sends signals to the armature electromagnet, which uses the magnetic field created by the stationary neodymium magnets to move the armature, which moves the drive head across the surface of the drive. When a drive is active and working correctly, the drive head is usually flying just a few micrometers above the surface of the platter. On high end 10K RPM drives, it will be going almost 100 miles per hour at the outer edge of the platter! It’s reading your data (assuming there’s any data on the drive for it to read.)
When dissecting a hard drive, be careful with the magnets. The neodymium magnets are super strong, and you don’t want to get it close to anything you care about, including credit cards.
Partway through, we found out the drive armature in our Samsung was mounted with a compression mount. Time to break out the hammer so we could get the rest of the drive taken apart.

Once the hammering is done, we were able to unscrew and remove the armature and the bottom half of the super-strong magnet.
The final step in our hard drive dissection is to take the platters off of the rotors. First, remove the little screws in the center. There is a small aluminum bracket that holds the platters on. Lift this bracket off to start taking out a platter.
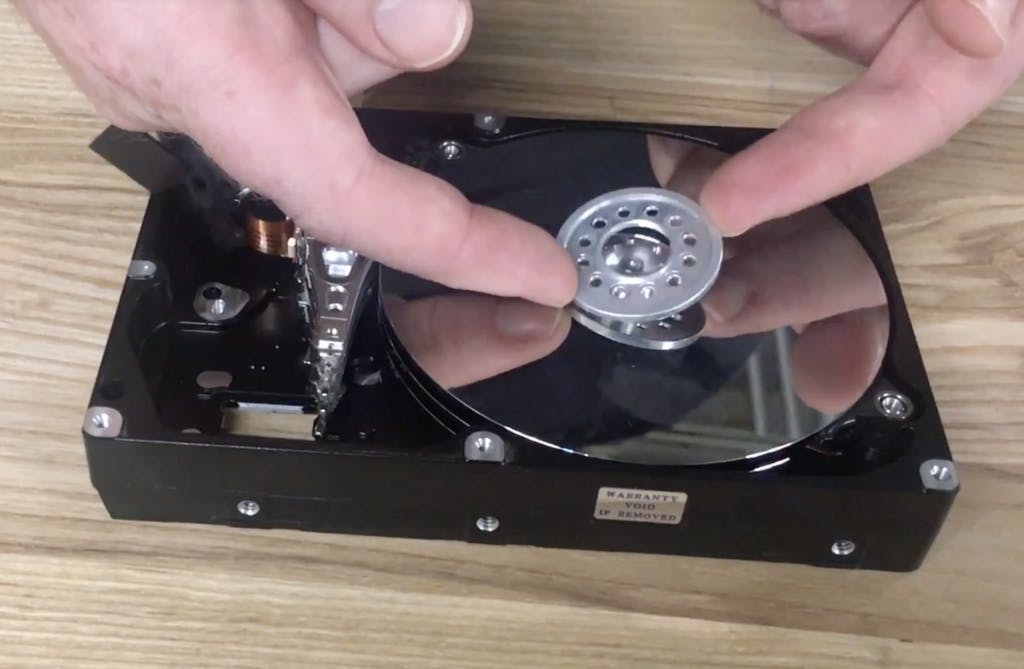
The platters are made of aluminum and precious metals that are overlaid just a few microns thick, and that’s where your data is stored. With just a touch of your finger directly on the platter, you can ruin the hard drive. Luckily we had several decommissioned drives ready for everyone to touch.
Hopefully, you’ve learned a bit about data storage technology. Hard drives are a key component. Taking one apart is the perfect way to get that hands-on experience and see the inner workings of where your data gets stored when you save something on your computer or online.
If you happen to be in the Bay Area, keep an eye out for future meetups and more great classes with Make:SF.
Looking for secure FTP hosting to store and manage your data? Check out ExaVault and sign up for your free trial.
But, what exactly are the differences, and why should you choose one protocol over the other? Read More
An FTP server is a computer program built to handle data transfer between computers. Read More


