Receive Files Directly on Your Website
Include a small file upload widget -- or an entire form -- right on your website. Files flow directly into your ExaVault account, where you can process them like any other uploaded file.


The lightweight integration requires just a few lines of code dropped right into your site's HTML. For advanced users, we provide options and callback functions that directly integrate the uploader into your forms and workflow.
Sample Integrations
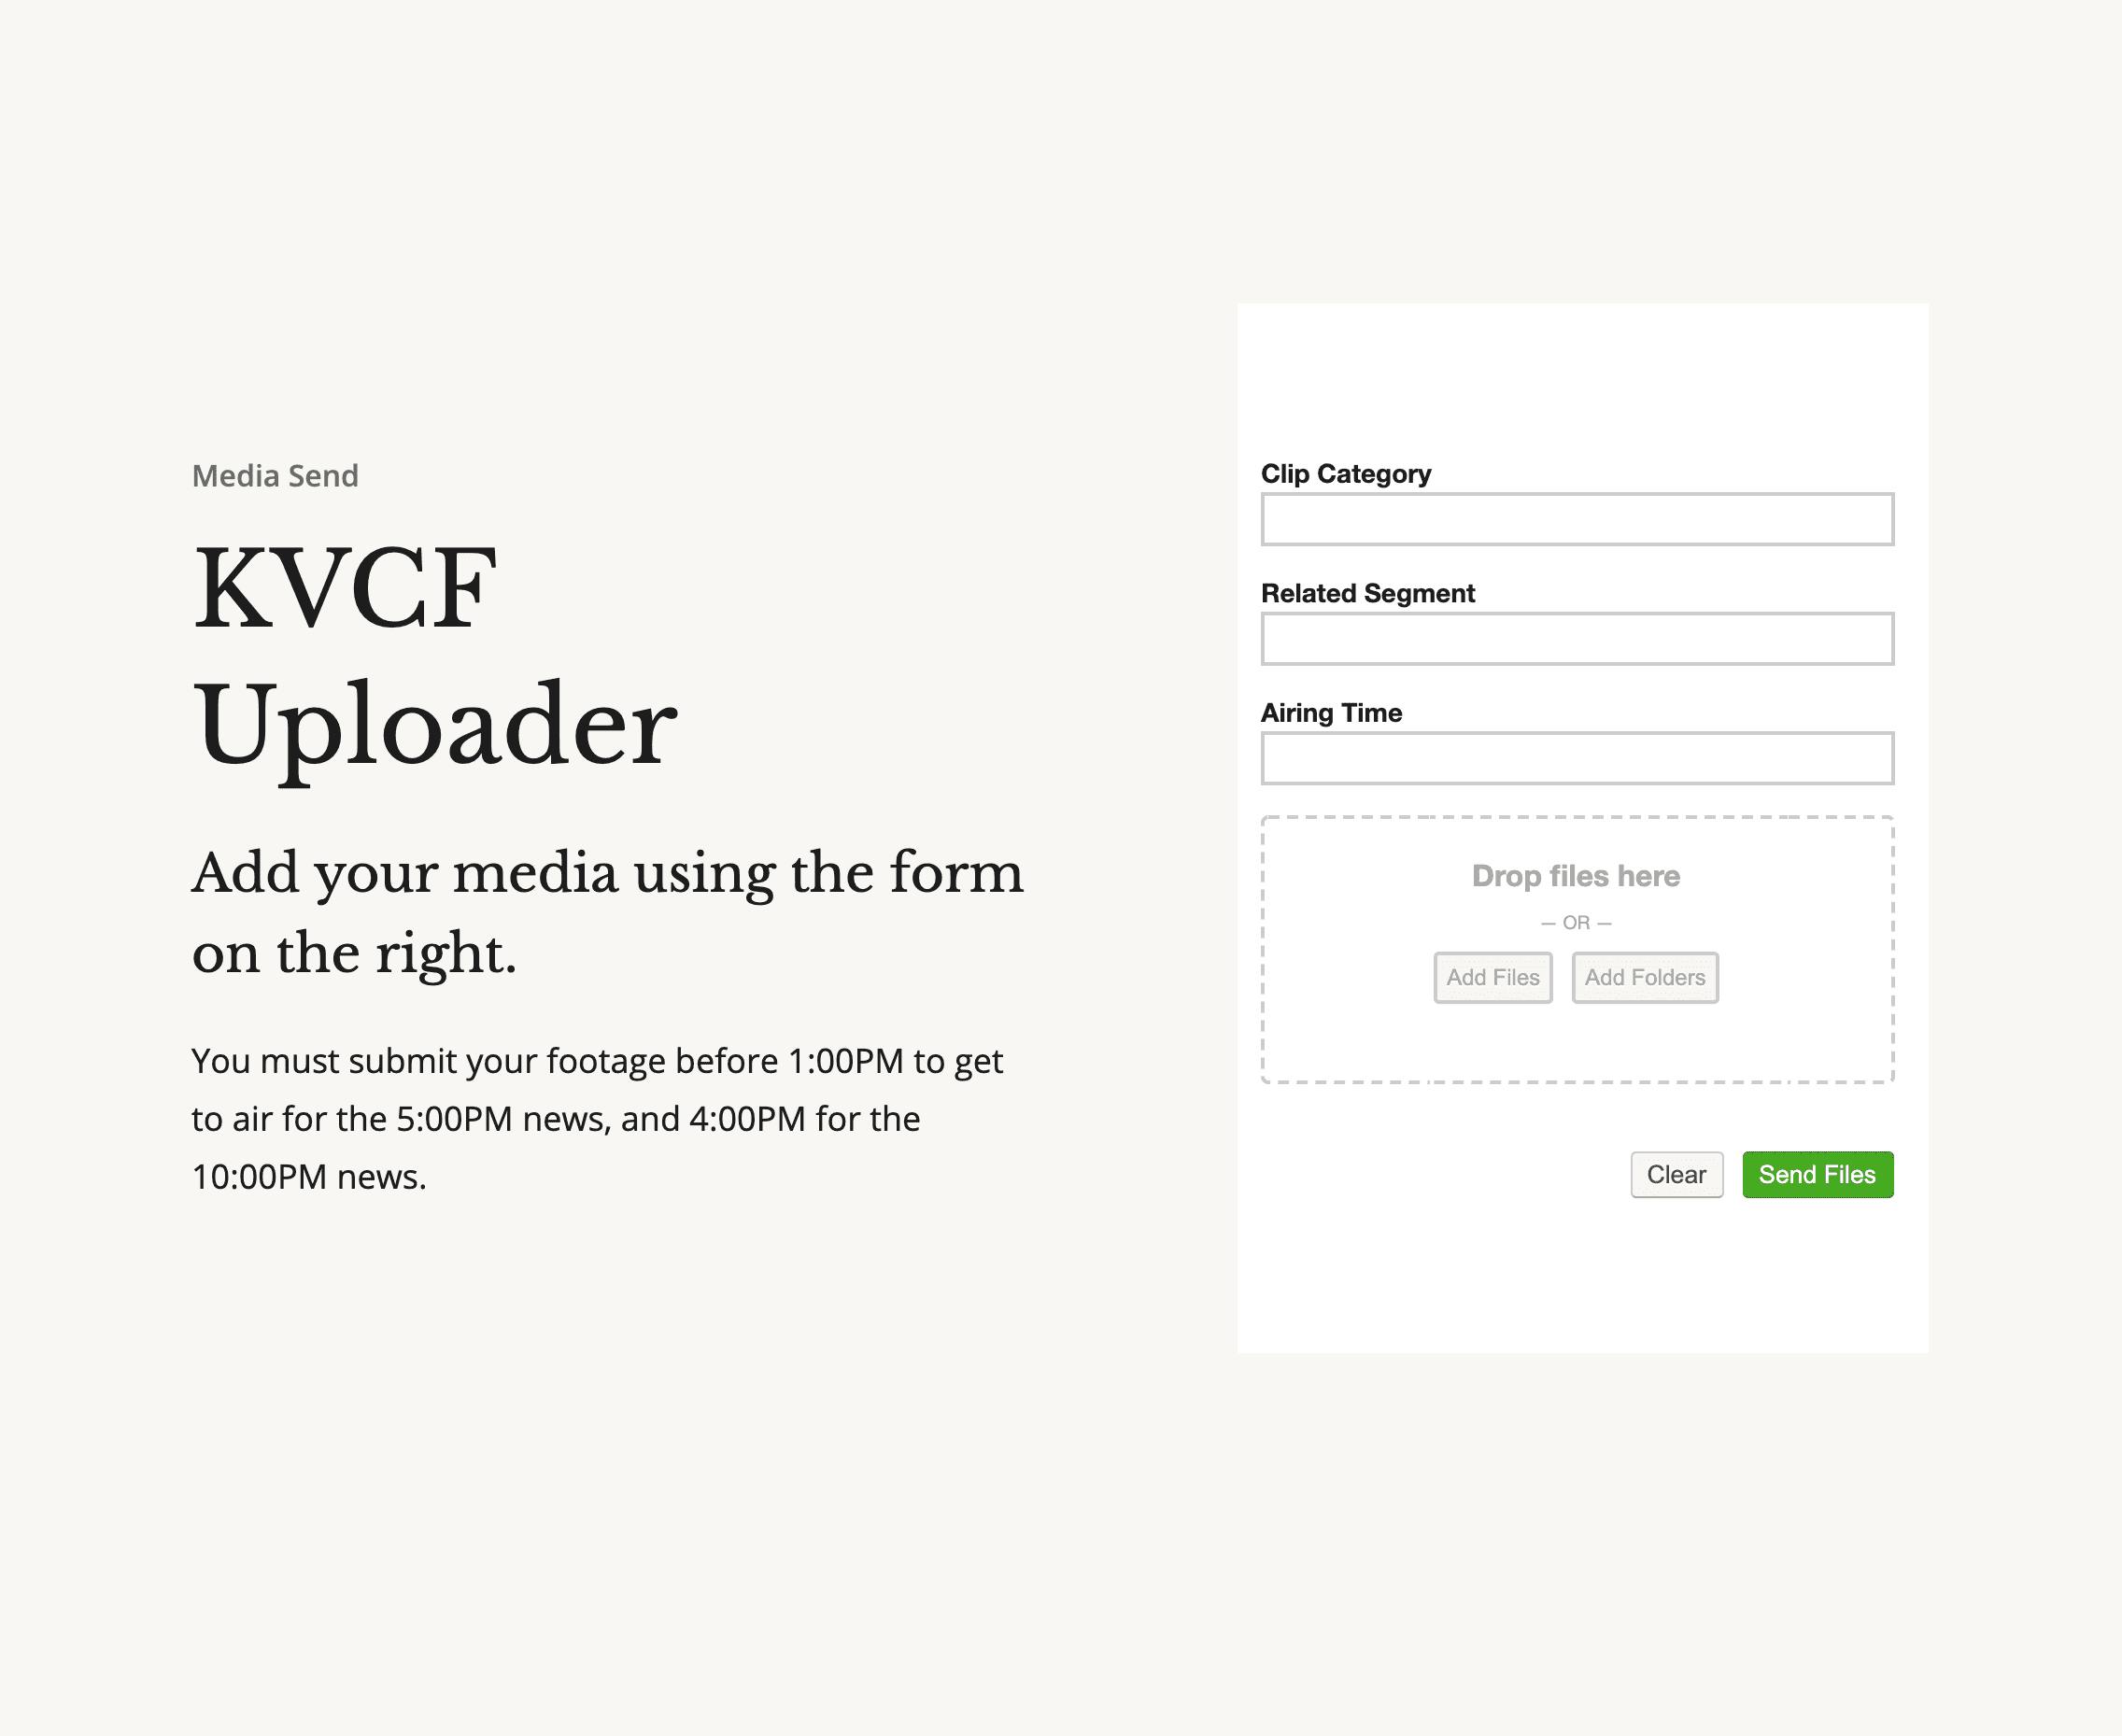
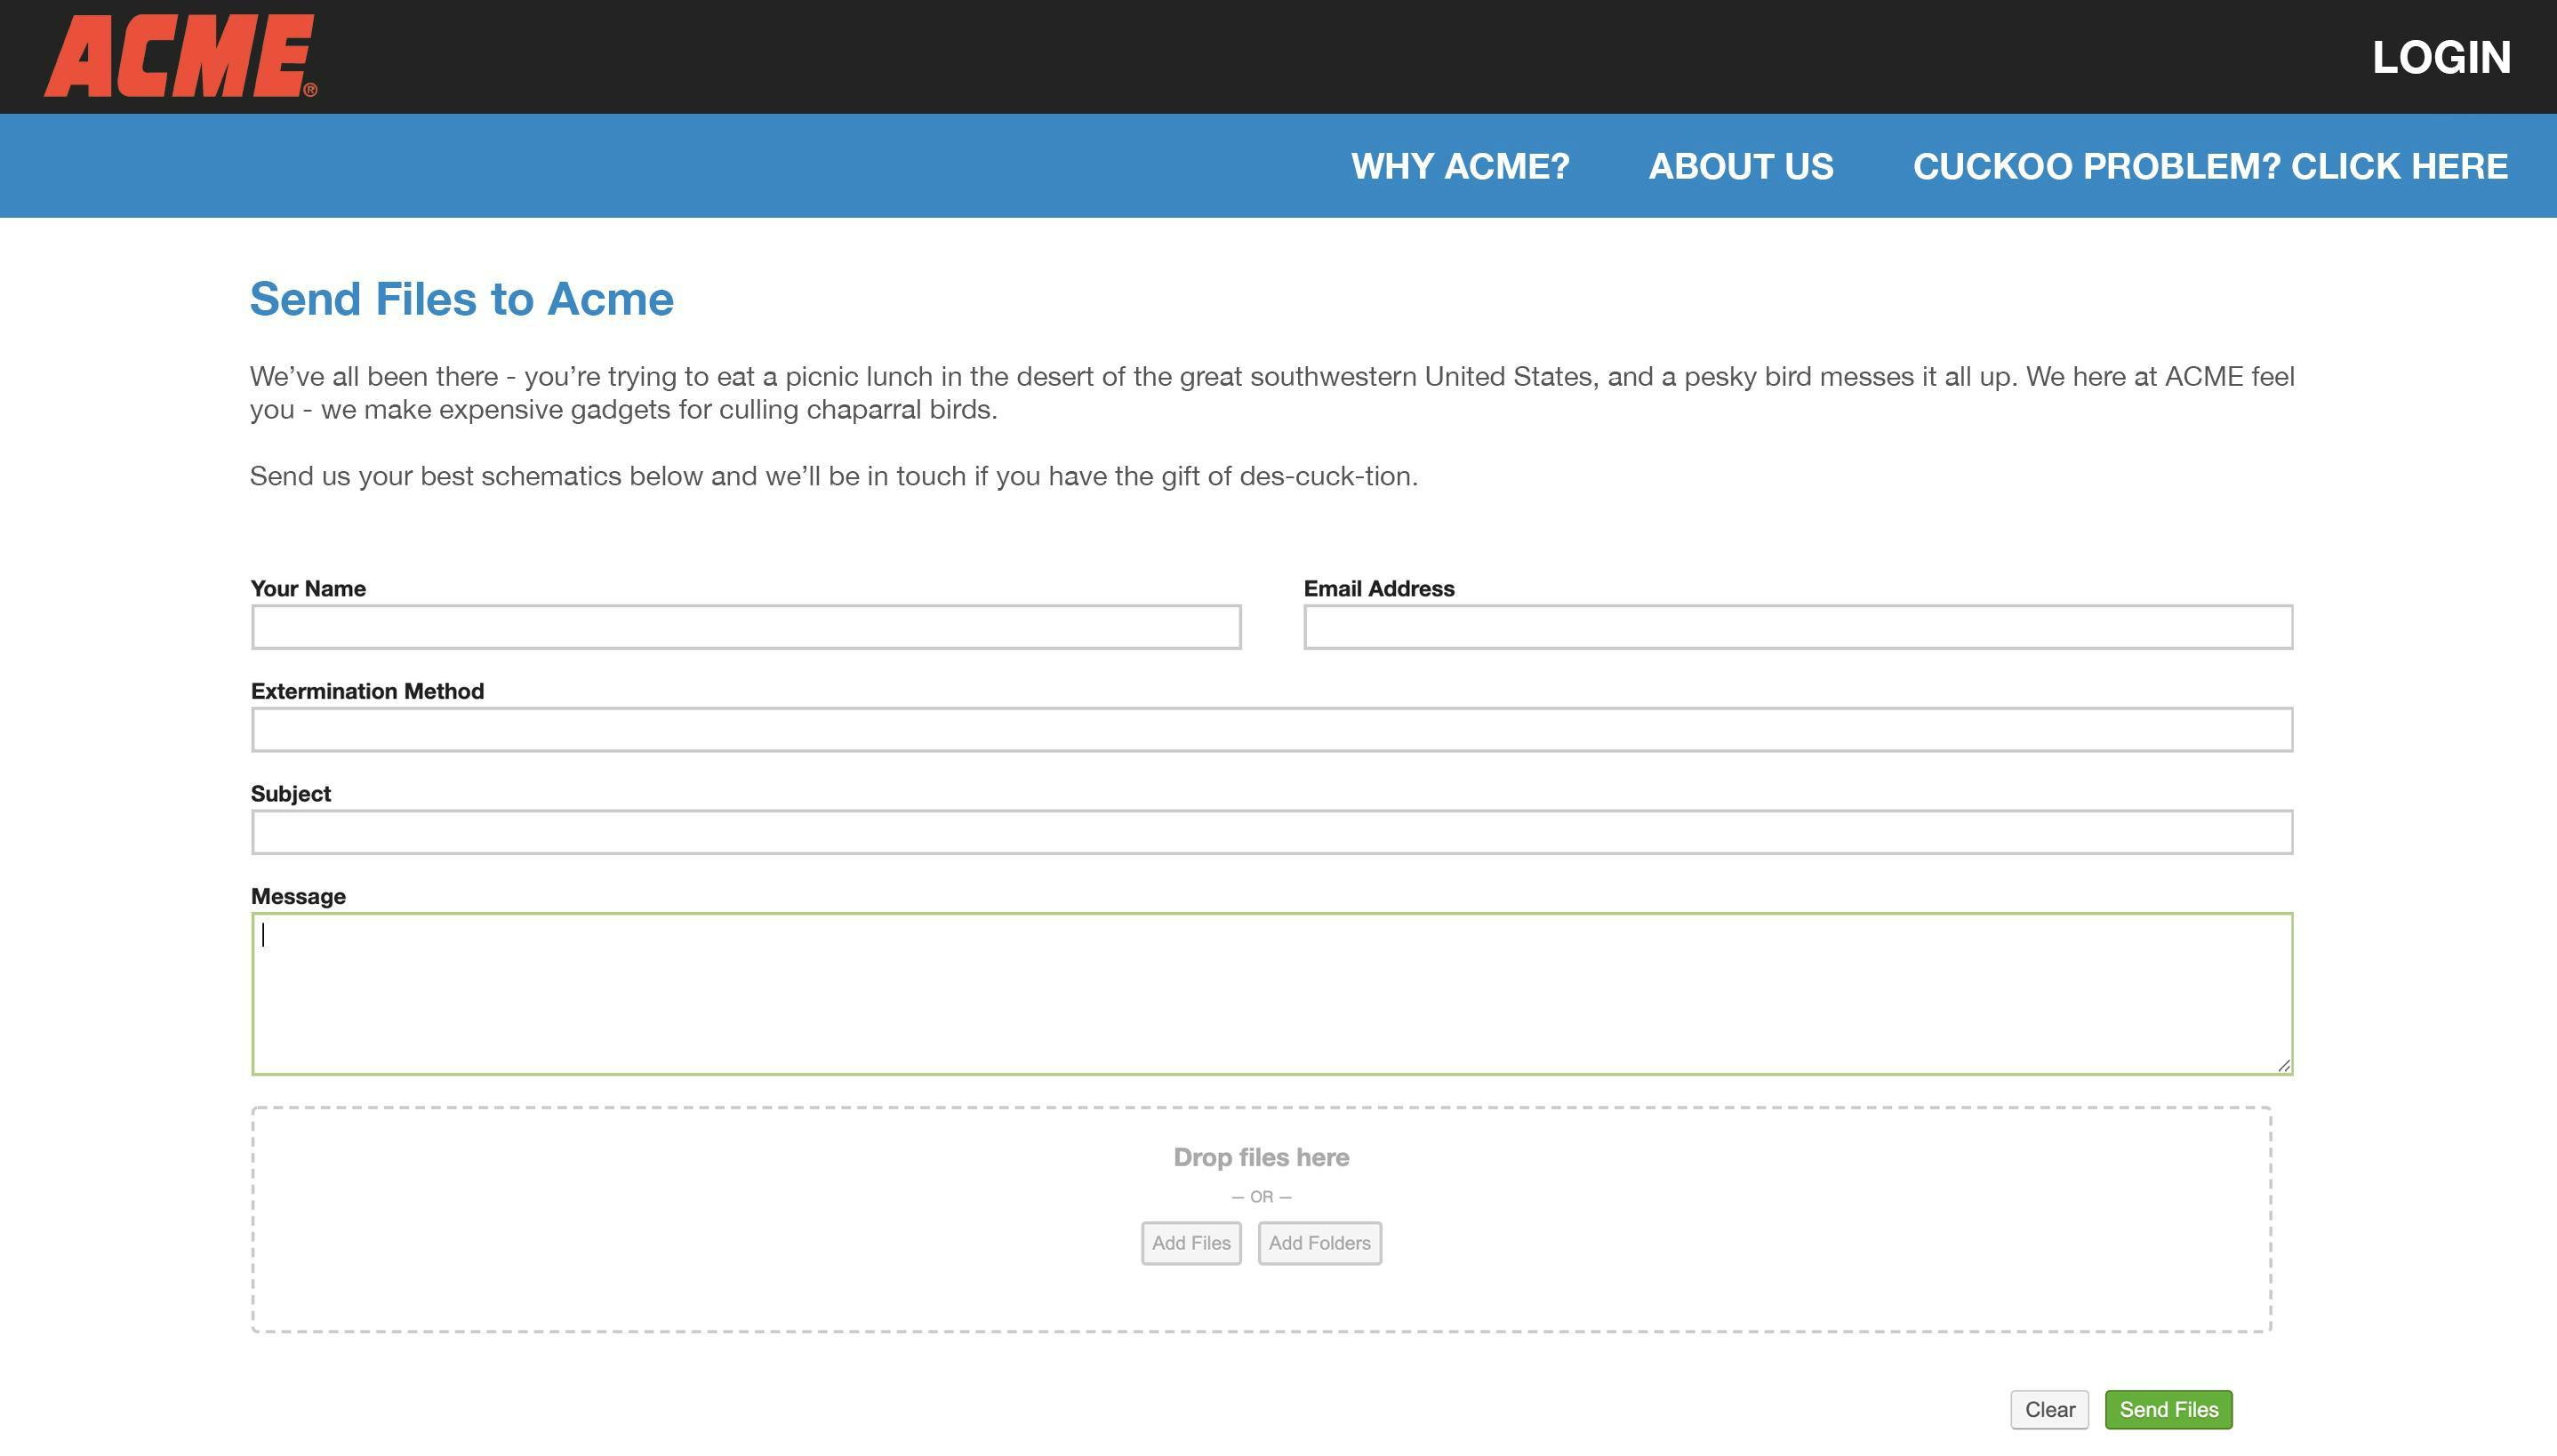
Here are just a few customers who integrated our upload forms into their websites.


Embedding an Upload Widget on Your Website
Form Setup
Each receive folder includes a set of the most commonly used fields when you create a new form. Customize the form to add new fields, remove any of the default fields, and change the order that fields appear on your form. When your customer uploads a file, the data from the form will be attached to the file in the ExaVault interface, so you can keep track of jobs, order numbers, and more. See step-by-step instructions in our Form Builder documentation.
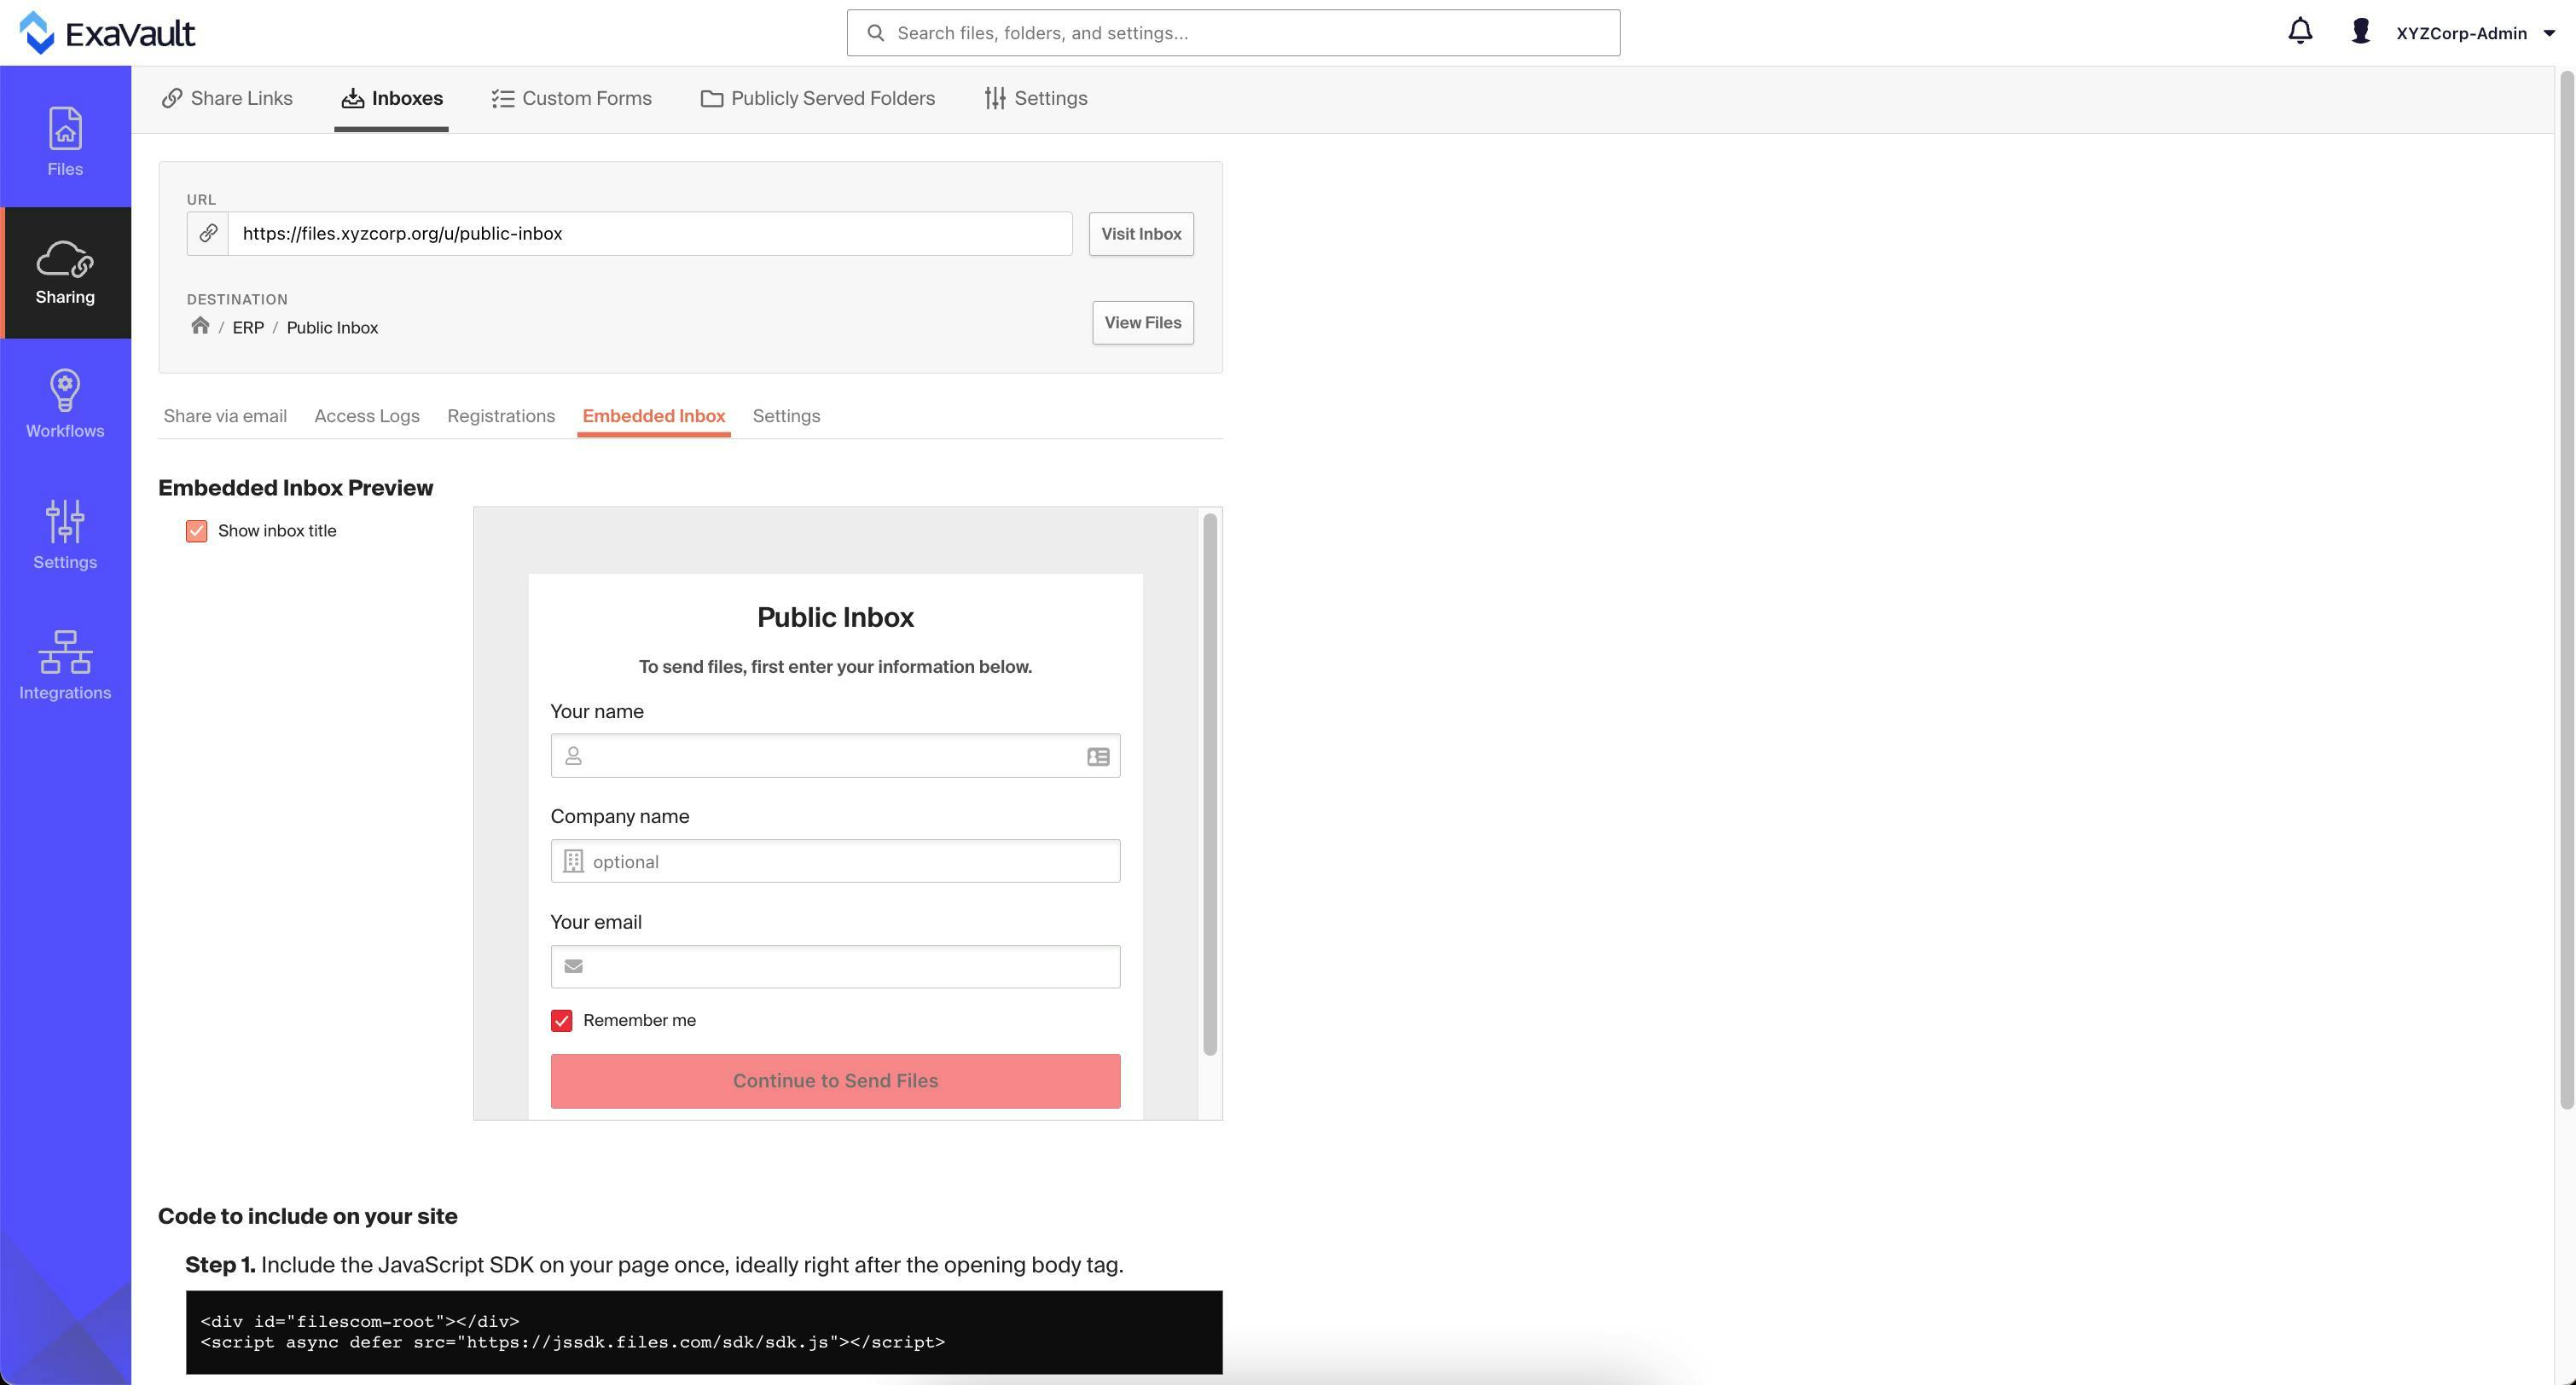
Generate Your Form Code
Once your form is set up, follow these steps to retrieve the code:
- Log in to your ExaVault account.
- Open the receive folder options for the form you want to embed.
- Check the box next to the label Allow Embedding.
- Click the get code link.
- Copy the HTML code from the popup.
The code should look something like this:
<script src="https://app.exavault.com/ev-receive-widget"></script>
<div id='widget-container-wrap' data-hash='ab12-abc123' data-filetype='image/jpeg,image/png,image/gif' data-showbuttons='true'></div>

Embed the Form Into Your Website
Open your site's code and paste in the copied code where you want the widget to appear.
Once you paste the code into your site, that's it! You or your customers are now able to upload files via your site.
Example Output:

Advanced Widget Options
Controlling Display Options on the Form
You may specify the following options on the <div> element in the embed code to alter the appearance of the form. These attributes are not required.
data-showbuttons
true/false
display the "clear" and "send files" buttons. Set this to false if you want to control when the files are uploaded via the $EvUploader.upload function. If blank or not included this will be set to true.
data-filetype
string
A comma-separated list of MIME file types[*] to support. If blank, all file types will be supported. For example, to load only image files, set this to 'image/jpg,image/png, image/gif,image/tif,image/bmp'
[*] For a list of valid MIME file types, see this page.
Controlling Upload Behavior
The ExaVault Receive Folder exposes functions that you can use to control the behavior of the embedded widget.
$EvUploader.upload()
This function is used to initate the file upload if you have chosen to hide the submit button (see data-showbuttons above). For example, if you need form field types that are not supported by the form builder (such as dropdowns or radio buttons) you can include the form div in your own form and then call $EvUploader.upload() to trigger the upload to ExaVault. The function has two parameters:
$EvUploader.upload(folderName, callback)
folderName
string
Used to organize each user's upload into a different folder. For example, if you have a form that has the user's email address, you may pass their email address as the folderName so that each user's uploads will be organized by email address. The folder will be created automatically if it does not exist. If left null, all files will be uploaded to the root of the receive folder.
callback
function
Callback code to run when the uploader is finished uploading. For example, you could use the ExaVault API to automatically rename or compress the uploaded files. If you leave this option null, the uploader will reset after files have been uploaded.
[*] For a list of valid MIME file types, see this page.
Modifing Your Form with Custom CSS
Provide your own custom CSS in the form setup to integrate the uploader seamlessly into your website. Edit the form settings to override the default styles.
- Fonts
- How much horizontal space the embedded form occupies within your site
- Field labels (e.g., color, size, positioning)
- Field inputs
- Form field descriptions


