

What are webhooks?
Webhooks let you -- or more specifically, your server -- get notified when something has happened on your account. Unlike our API, in which you call us, our webhooks are outbound - we call you when something happens (e.g. a file is uploaded) that you need to know about.
All you need to do is setup a listener URL on your server and program that into your ExaVault webhook settings. You'll start receiving webhook notifications right away.

Getting Started with Webhooks
Setup a Callback URL
Before you configure your webhook settings in ExaVault, you'll need to setup a new URL that'll function as your webhook listener that'll receive your notifications.
This URL should contain code which will handle the event notifications we provide -- for example, by kicking off a processing job on a newly provided file. If you just want to experiment with webhooks before committing to a full implementation, checkout webhook.site, below.
Easy Webhook Test
If you haven't already setup a callback URL, https://webhook.site/ is a great option to see Webhooks in action.
- Click the above link and you'll automatically be generated a callback URL
- Enter the generated URL into ExaVault and set your triggers
- Take an action that you set a trigger for and see it show up on your custom URL on webhook.site
Configure Your Webhook Settings
- Log into the ExaVault File Manager at your account name address.
i.e., if your account is exampleaccount.exavault.com, go to https://exampleaccount.exavault.com and log in with your username and password. - Click on the My Account option in the left-hand sidebar.
- Click on the Developer tab.
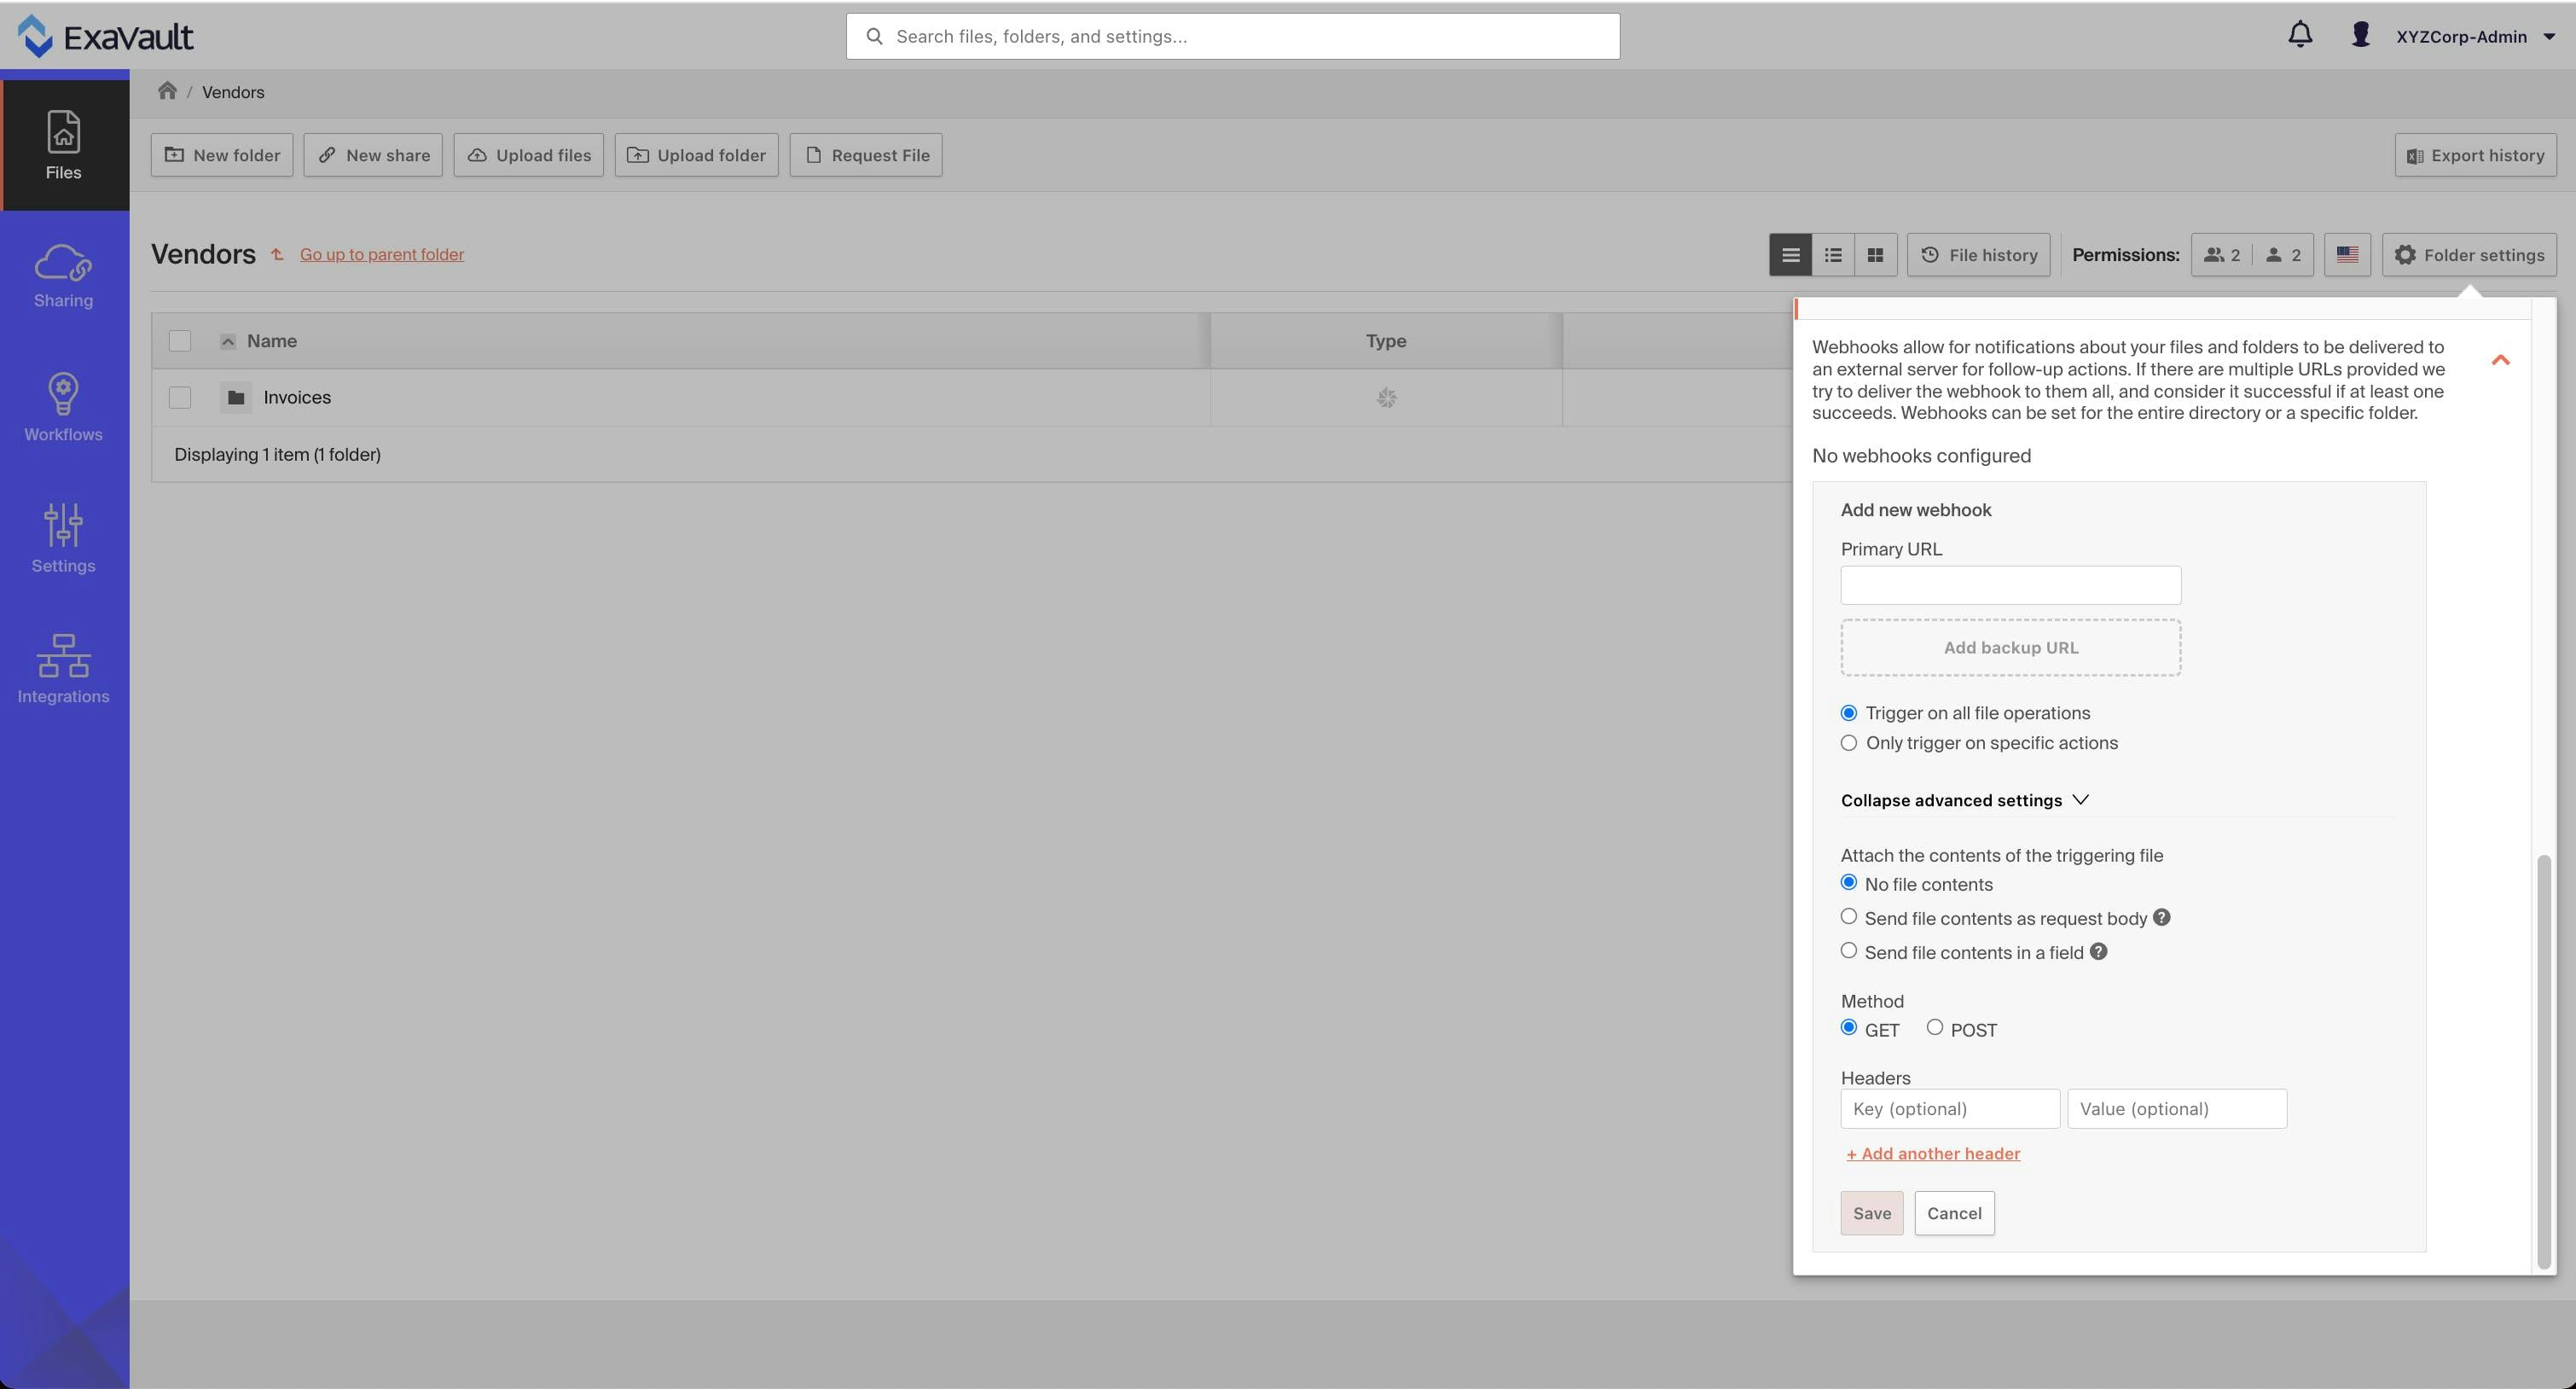
- Add the URL where your webhook listener can receive requests.
- Check the boxes for the actions which should trigger your webhook.
- Scroll to the bottom of the page to click SAVE SETTINGS.


Securing Your Webhooks with Signature Verification
When you configure a webhook endpoint and triggering actions, a Verification Token will be displayed below the webhook endpoint URL. You may use this token in combination with the X-Exavault-Signature header to verify that ExaVault is the sender of the webhook request.
Although this step is optional, we strongly recommend it to improve security.
You'll can use this 3-step procedure to validate an individual webhook request to ensure it was sent by ExaVault.
1. Get Verification Token
In order to verify the X-Exavault-Signature header value, you'll first need to obtain the Verification Token for your account:
- Click on the My Account option in the left-hand sidebar.
- Click on the Developer tab
- Copy the Verification Token that appears below the Webhooks Endpoint url field.
Every webhook request sent to your endpoint URL will use the same verification token. This token won't change for your account.
2. Concatenate Token and Request
Once you have the verification token, you'll concatenate that token along with the raw string representing the request body that was received. Do not convert the request body to any other type of object; if the library you're using automatically converts the request body to an object, look for a method to obtain the raw request body as text.
3. Calculate MD5 Hash
Calculate the md5 hash of that concatenation. The result should match the contents of the x-exavault-signature header.
Webhook Logs
Account administrators can track all of the webhook requests sent for your account within the ExaVault File Manager web interface.
To access Webhook logs:
- Log into the ExaVault File Manager at your account name address. i.e., if your account is exampleaccount.exavault.com, go to https://exampleaccount.exavault.com and log in with your username and password
- Click on the Activity option in the left-hand sidebar
- Click on Webhooks Logs
The webhook logs will show each time a webhook request was sent to your endpoint URL. The following information is recorded for each request:
- date and time - when the system sent the request
- endpoint url - where the webhook request was sent
- event - what triggered the webhook
- status - HTTP status or curl error code returned by the webhook endpoint
- attempt - how many times this request has been sent
- response size - size of the response from your webhook endpoint
- details - the response body returned from your webhook endpoint
Example Webhook Output
The following example demonstrates the structure of webhook requests and how to validate the verification signature for an individual request. All of these examples will use the same verification token; you'll need to use the token for your account to do the same checks on your own webhook requests.
File Upload
Verification Token
X-Exavault-Signature header
efb7e0030e6cef1b45d3d74a67881a2b
186e8c73793666c8b5cfa0b55eee691d
Raw Output
{ "accountname": "omorgan", "username": "omorgan", "operation": "Upload", "protocol": "web", "path": "/ExaVault Quick Start (8).pdf", "sourcepath": "", "attempt": 1 } JSON Formatted
{
"accountname": "omorgan",
"username": "omorgan",
"operation": "Upload",
"protocol": "web",
"path": "/ExaVault Quick Start (8).pdf",
"sourcepath": "",
"attempt": 1
} An Example Automation
Webhooks can be excellent automation triggers. Receiving a webhook can trigger a process to begin without any manual intervention. For example, let's see what an automated workflow, in combination with out Resource APIs, to delete files might look like.
Securing Your Webhooks with Signature Verification
If you need help getting webhooks setup, or have questions, please email support@exavault.com


